
There is literally nothing better than the smell of fresh bread: baking, frying, even just the yeast of the dough when it’s rising in the kitchen smells delicious! And, since the stay-at-home order started here in NYC I have been making a wide variety of breads and pastries that I have been too scared to try. Knowing how easy they are now, I’m a little disappointed I waited so long to try my hand at them, as I am having a blast coming up with these recipes and tasting everything!
I hate buying bread that has all kind of weird ingredients- stabilizers, dough conditioners, all kinds of sugars and unpronounceable names, so being able to control what goes into the bread, and making it fresh, I know it will always be delicious, even if I mess up sometimes. And, when making it for other people, I feel good knowing what is in what I am making and we’re all eating!
For this flat bread, I started with a basic recipe and adjusted it. I’ve been eating lots of plain white breads lately and have become a little bored, and was looking to add something more interesting to the everyday, and also sneak a little more nutrition in!
I’m working on remembering to take more pictures as I go, but I started halfway through on this one. Bear with me, I’ll start to get the hang of it!
Ingredients
- 1c warm water
- 1 Tbs sugar
- 1 Tbs active dry yeast
- 1 tsp salt
- 3 Tbs olive oil
- 1c oat flour
- 1 1/2c all purpose flour (will need more for dusting)
- 1/3c 7 grain seed mix
Instructions
- Combine the water, sugar, and yeast in a small bowl; stir, and let sit for 10-15 minutes. Yeast should bubble up and foam.
- While yeast is activating, combine flours in a large bowl. You may need more flour, depending on the environment conditions. You can always add more, so best to start with the 2 1/2c total and add as needed.
- Pour in the yeast/water mixture, add the salt and oil, and stir together with a wooden spoon until a dough forms. Dough will be sticky to the touch, but should come to a general ball formation fairly quickly and come away from sides of bowl.
- Scrape all dough off spoon, and place on a lightly floured surface. Knead by hand, adding flour to surface and dough as needed, until the dough is slightly sticky, but somewhat elastic. It should take about 2-3 minutes.
- Place in an oiled bowl (I used olive oil in a misting spray) and cover with a dish towel. Make sure the bowl is at least 2-3 times the size of the dough so it has room to grow.
- Let rise for 1 hour.
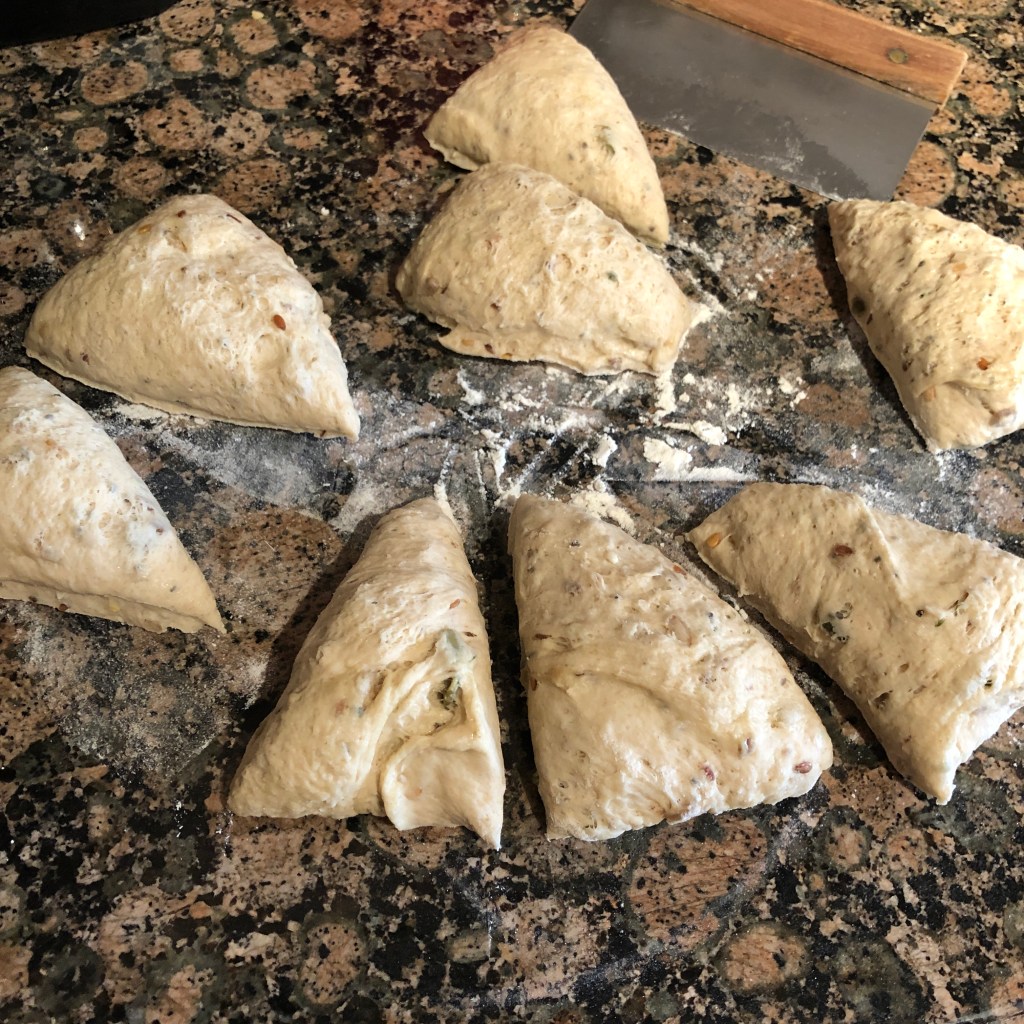
- Punch down dough, and divide into 8 pieces. Some people like to make their dough into balls to roll out round, but I kind of love the look of a rustic free form shape, so that’s how I make mine.
- Cover dough and let rest for ten minutes.
- Heat griddle or heavy skillet over medium high heat. I like to use a cast iron skillet. I really like the way it heats and provides an even high temp all around, and like cooking on stone, it really helps create those beautiful little brown spots!
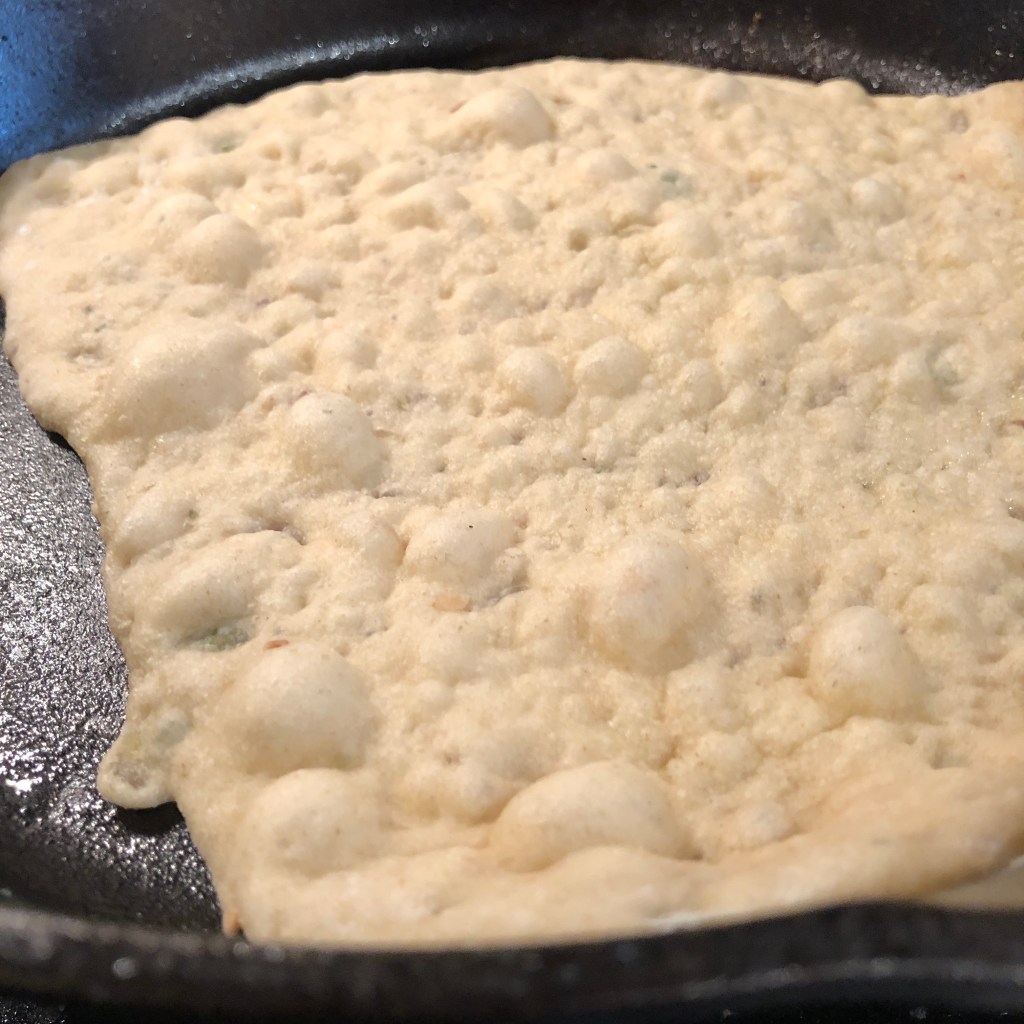
- Roll dough as thin as possible in whatever shape you like, making sure the diameter of the dough is the same size or smaller than the pan.
- Spray oil of choice or place a small pat of butter in the pan and gently place dough onto pan and let cook for about 2-3 minutes, or until browned. You will see small bubbles form as dough is cooking on the top; these will provide the lovely scorched bits that are so signature to flat bread. If you prefer to avoid these, you can flip when just golden brown.
- Once you notice dough is cooked, spray with oil and flip to cook other side.
- Repeat until you have finished all 8 pieces.


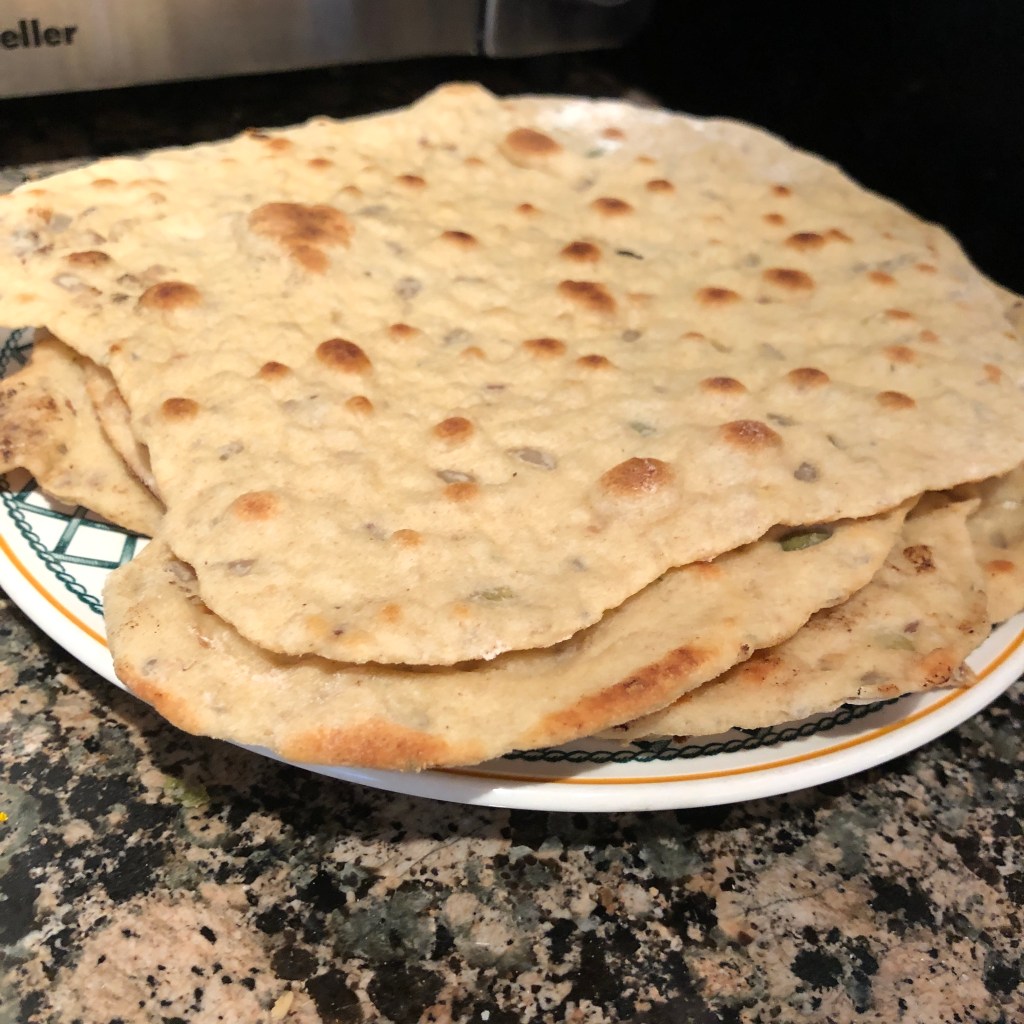
You can use these little canvases for anything you like. Pizzas, sandwiches, wraps. Savory or sweet. They can really go anyway. Nutella and bananas or hummus and veggies, really anything you can dream up!
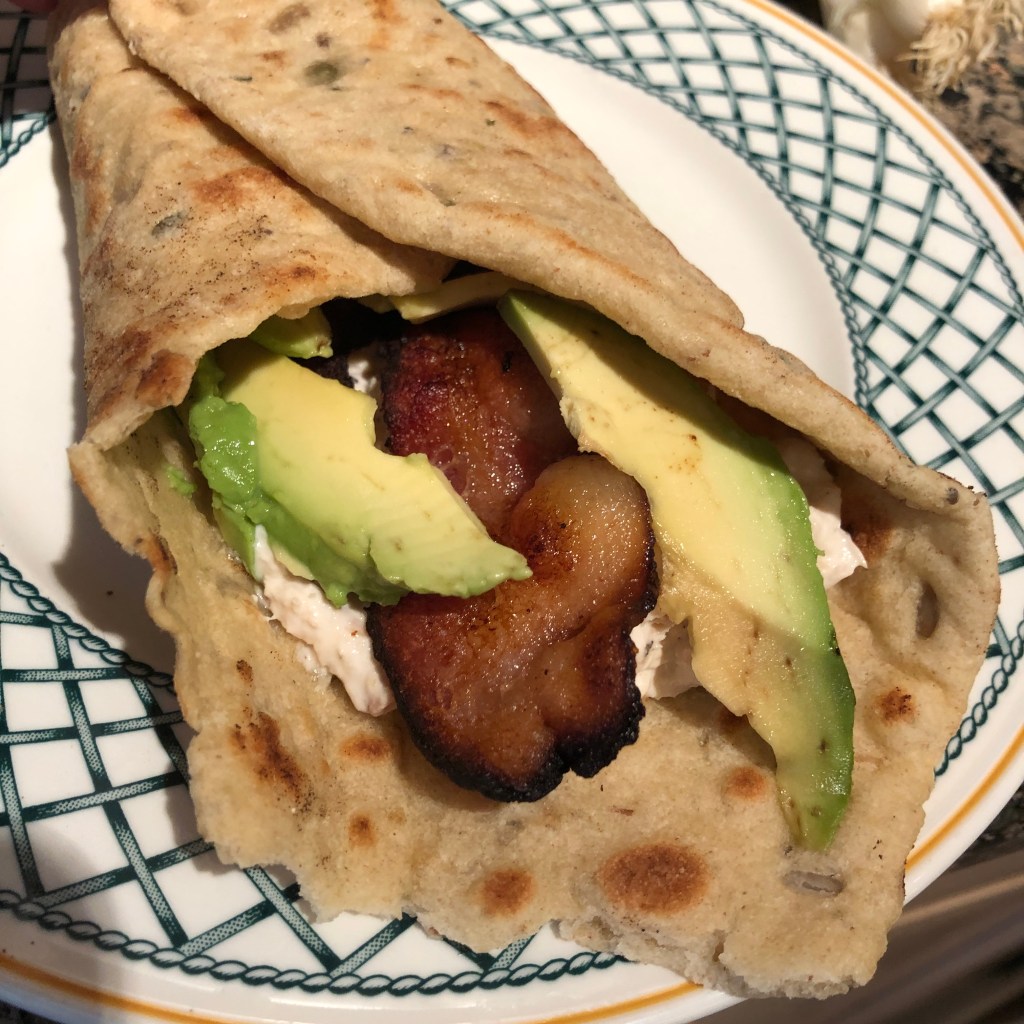
Today we had tuna club sandwiches. I placed a single pieces of bacon, tuna salad, and 1/4 of a sliced avocado, and wrapped it all up! So amazingly delicious, you will never buy store bought tasteless wraps again after you try these! (And, after you make them, you can freeze whatever you won’t eat now and enjoy as you are ready. Simply heat in the toaster oven and enjoy)!

To add this to your Yummly Recipe Box, click the Yum Below:

2 thoughts on “Whole Grain Flat Bread”
Kimi San Bhopal
Great recipe, must try this some time
pinchdollop
Thanks! Please let me know if you do, and what you think!